
4 Must-Haves for Long Exposure Sunrises & Sunsets

I've been asked a lot recently about the best practices for long exposure imagery, when photographing sunrises and sunsets. I wouldn’t say that what I know would be considered “best”, but here are a few things I think will help improve your results and even create more dynamic images.
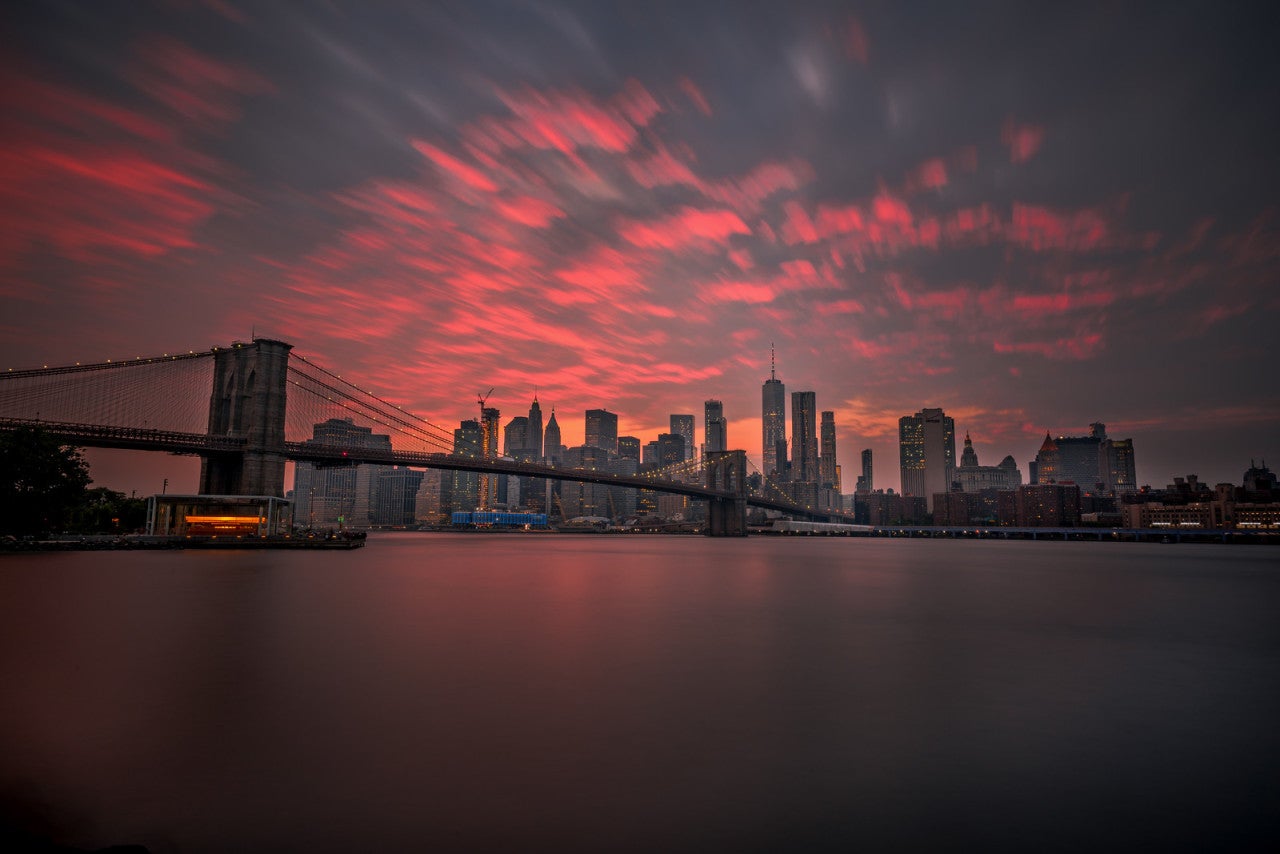
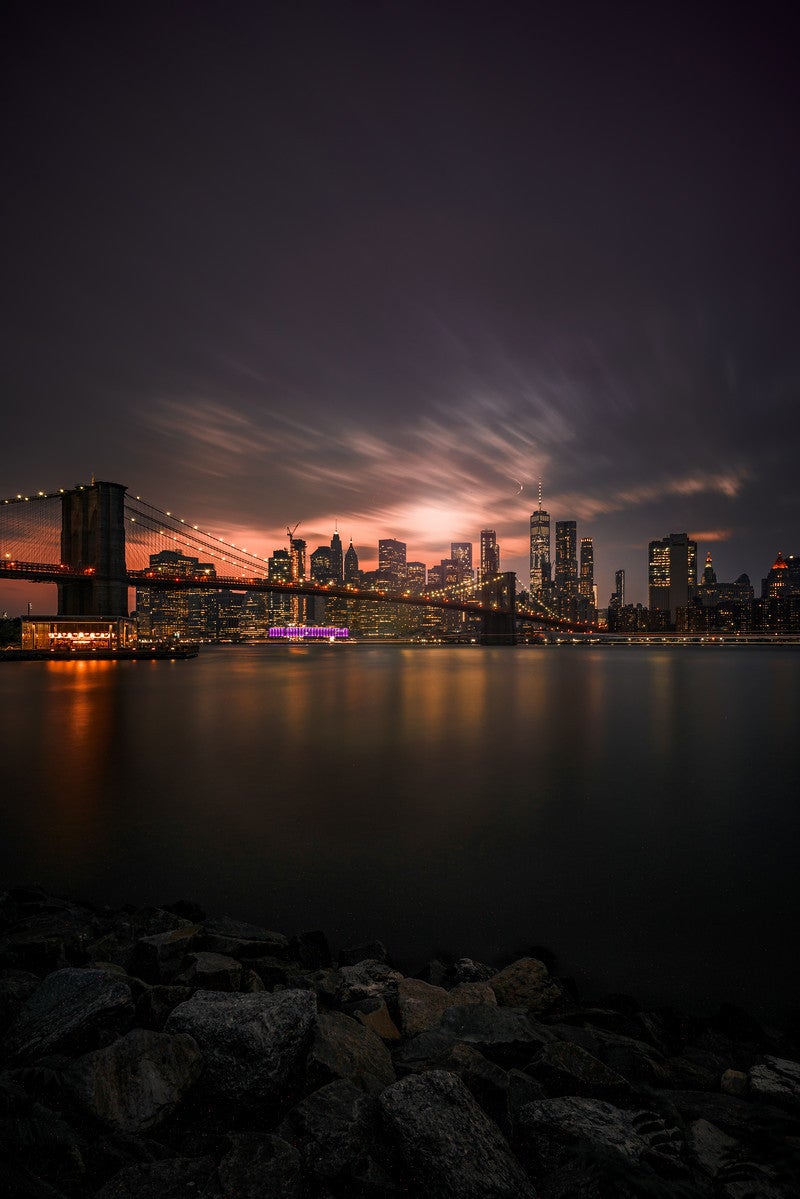 Brooklyn Bridge Park, Brooklyn, NY. Sony α7R II. Sony ZEISS Vario-Tessar T* 16-35mm f/4 lens. 182 sec., f/14, ISO 100
1. Neutral Density (ND) Filter
These are exceptionally handy for many scenarios, but they’re especially useful for sunrises and sunsets in giving you longer exposure opportunities when the sun is still producing a lot of light and your shutter speed can’t get quite low enough for a really long exposure.
These come in a variety of stops and types, such as your standard circular screw-on kind, or the square/rectangular kind, where you use a filter brace/holder on your lens.
6 stops is a good starting point for most. They’re a great in-between filter option in that it’s not too fast or slow for most situations. Having a 10-stop (or higher if needed) is useful for the times when you want to photograph a bit earlier before sunset and a little later after the sun has risen, so that you’re able to have the flexibility of a long exposure during those times as well.
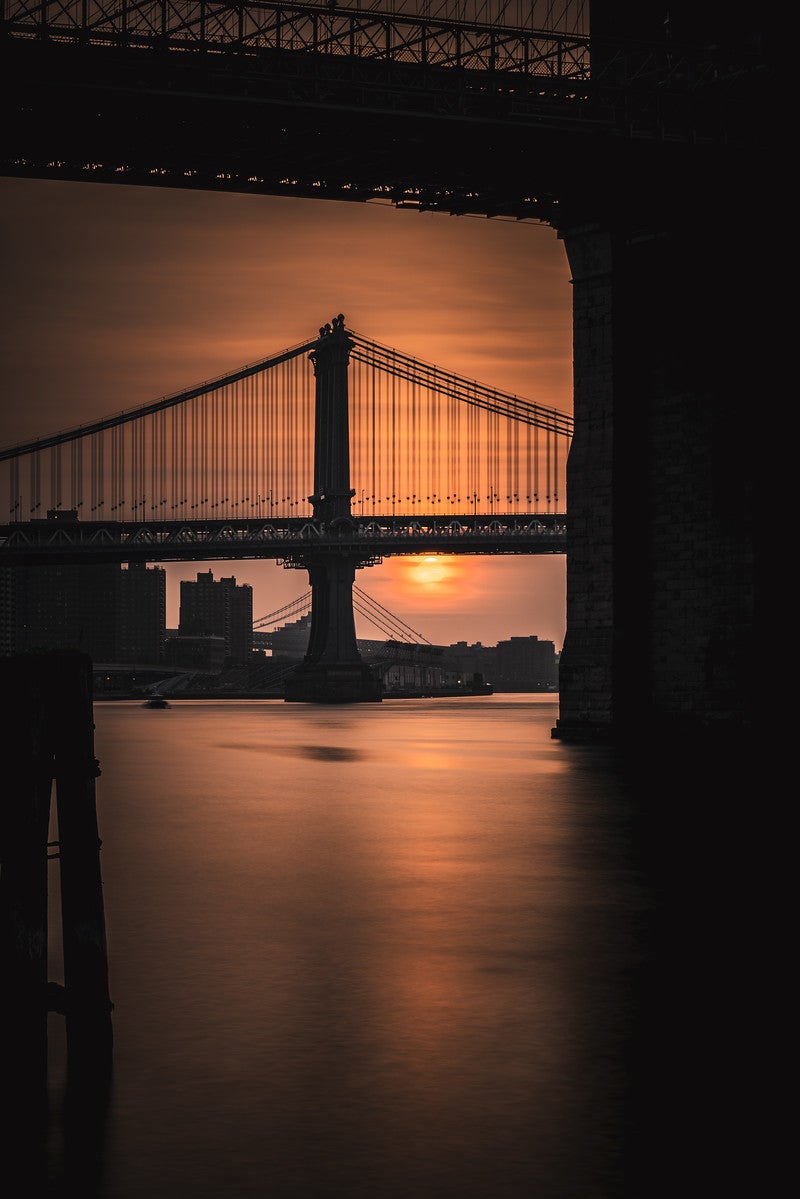
 South Street Seaport, Manhattan, NY. Sony α7R II. Sony ZEISS Vario-Tessar T* 16-35mm f/4 lens. 36 sec., f/20, ISO 50
2. Circular Polarizer (CPL) Filter
Among the variety of filters you can purchase on the market, these seem to have the most questions about what to use them for. These are excellent for managing reflections off of glass and water surfaces and enhancing results with the sky and clouds in your photo.
I use the Dark Circular Polarizing (CPL) filters from Breakthrough Photography. They’re the only company I’ve come across with these and they are your typical CPL filter you’d know them to be, but they also combine the varying stops you find in Neutral Density (ND) filters (coming in 1, 3 and 6 stops), effectively giving you a 2 in 1 filter.
This helps a lot as with most wide angle lenses (such as the Sony ZEISS Vario-Tessar T* 16-35mm f/4 I use) the more filters you stack you’ll begin to see vignetting, as the edges of the filters will begin to show at the widest focal length. By not having to stack several filters you avoid this and are able to photograph at the widest focal length of your lens.
 South Street Seaport, Manhattan, NY. Sony α7R II. 23 sec., f/22, ISO 50
3. Tripod
Having a good tripod is a MUST! This doesn’t mean purchasing a $500 tripod, as you can find great quality ones for less than half that price in aluminum or a carbon fiber for a few dollars more, which I especially love for their lighter weight when traveling.
I use a Sirui T-024X Carbon Fiber Tripod with a MeFoto Q0 Ball Head. It’s a very sturdy and stable tripod that can handle quite a hefty setup if needed. I love that it has a hook, in the event I need to weigh the tripod down more.
TIP: Don’t forget when you’re using a tripod to turn off your Image Stabilization. You might not realize it but with your camera on a tripod it’s still trying to correct motion even if there isn’t any, unless you’re on a moving platform or pier and in that case having it enabled can improve your chances for a much sharper image.
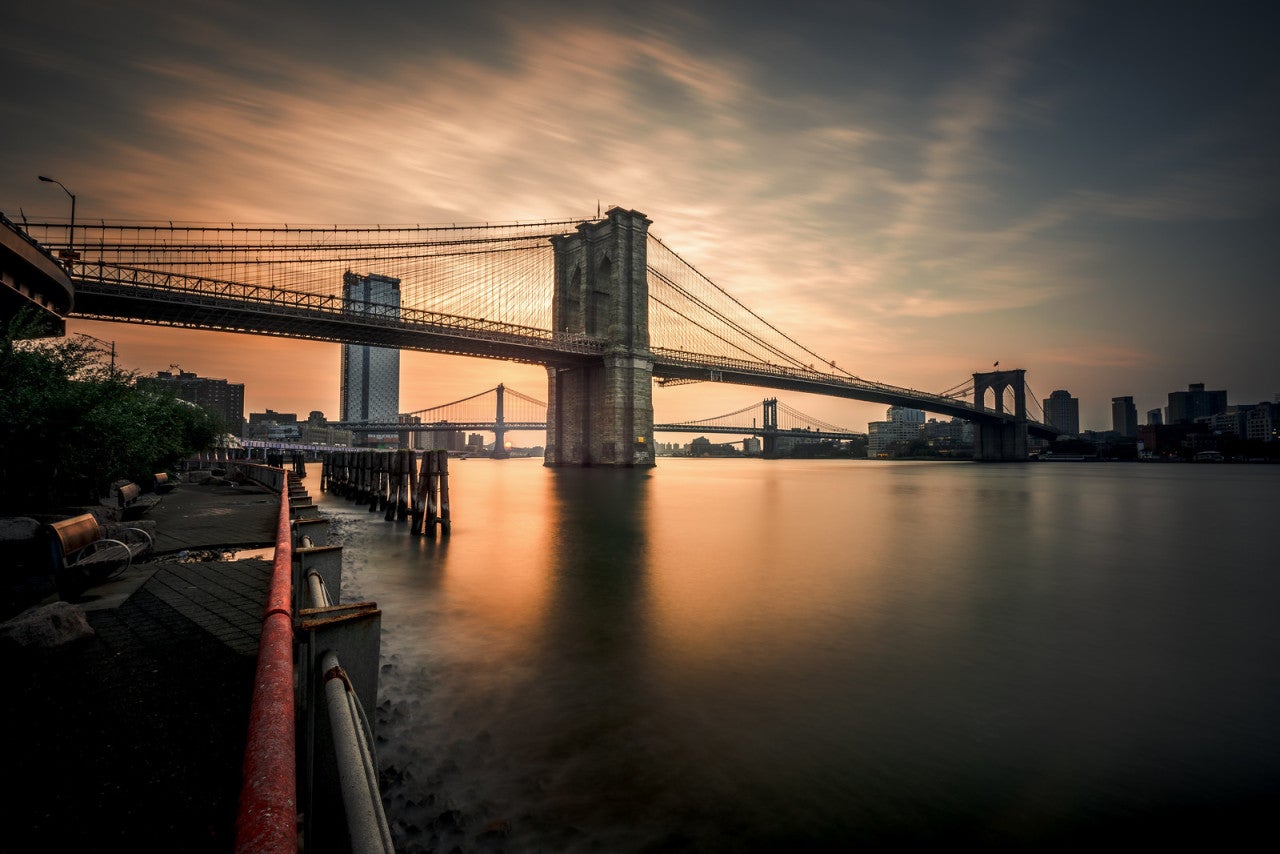
 Brooklyn Bridge Park, Brooklyn, NY. Sony α7R II. Sony ZEISS Vario-Tessar T* 16-35mm f/4 lens. 78 sec., f/22, ISO 50
4. Intervalometer/Remote
Having a remote trigger whether attached to the camera, using an app, or other is important to have in setting up for the perfect long exposure of a sunrise or sunset. I use a little $20 remote I found off of Amazon that attaches to my camera and with my camera in BULB mode I can set it for the amount of time I want my exposure to be.
The maximum many cameras can go in-camera is 30 seconds, which works just fine, but if you’re wanting more dramatic looking images you would want to go longer. Adjust your timing for how extensive you want any kind of motion to be in your image to obtain your desired look.
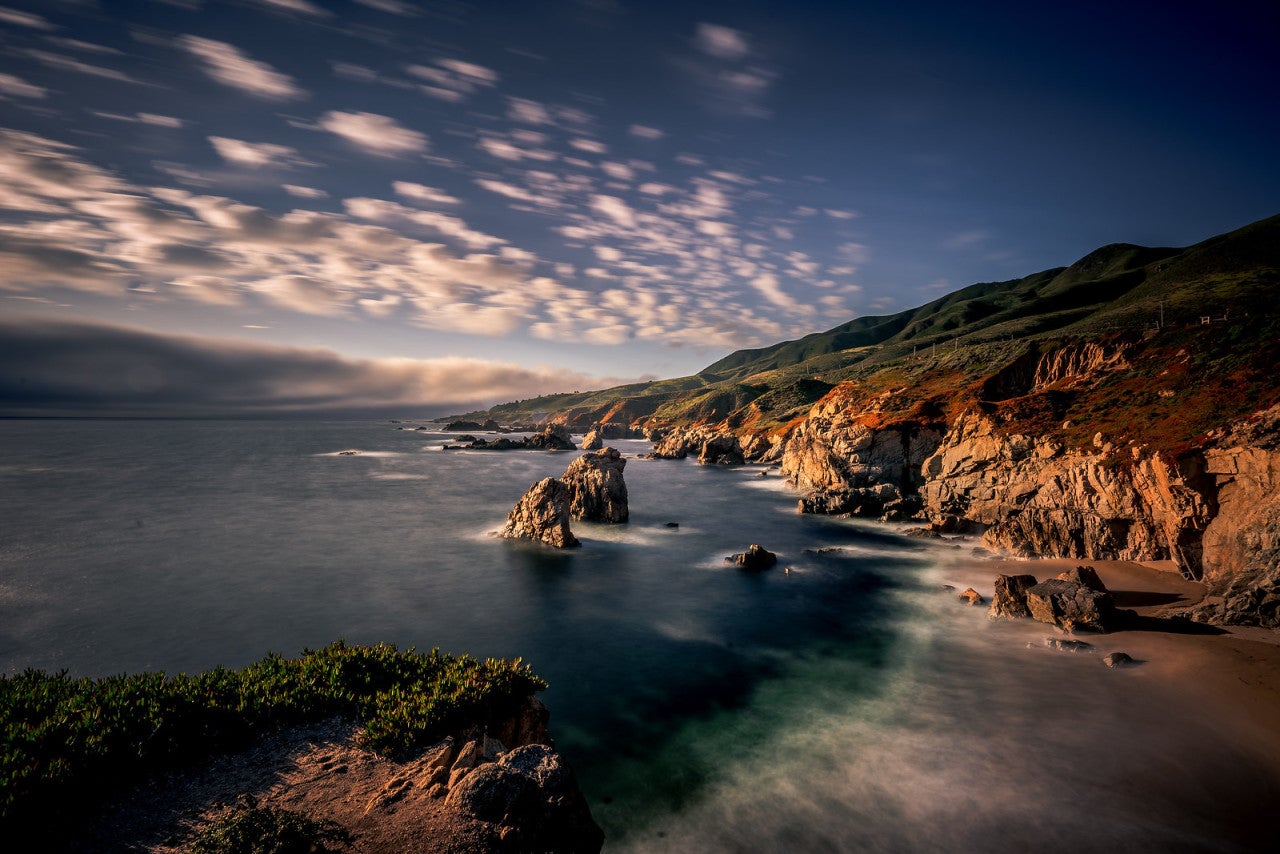 Garrapata State Park, Carmel, CA. Sony α7 III. 30 sec., f/18, ISO 50
Hopefully these things help you in improving your sunrise and sunset images to create beautiful and dynamic photos that bring more feeling and passion to them. I’d love to see your results, so be sure to share them with me on Instagram @professorhines.
For more by Kenneth Hines, check out his website. And click here for more content from Sony Alpha Universe.
We want to acknowledge and thank the past, present, and future generations of all Native Nations and Indigenous Peoples whose ancestral lands we travel, explore, and play on. Always practice Leave No Trace ethics on your adventures and follow local regulations. Please explore responsibly!
Do you love the outdoors?
Yep, us too. That's why we send you the best local adventures, stories, and expert advice, right to your inbox.


