Building Our Adventure Van

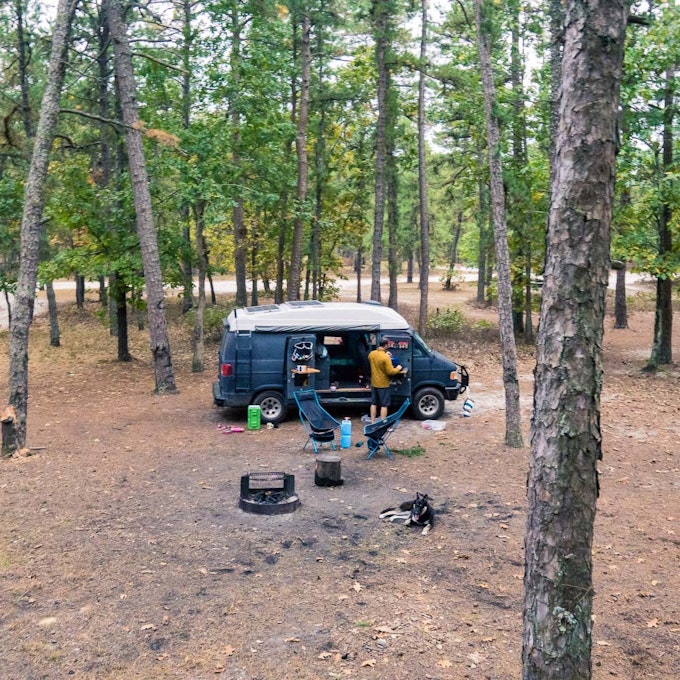
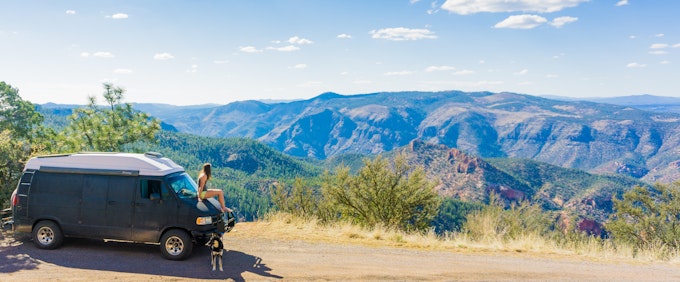
In 2017 we decided to head out on a road trip to visit all 48 contiguous states. Inspired by Instagram, we quickly came to the conclusion that #vanlife is the best way to see the country on the cheap.
We decided to build out an van ourselves and camp our way across the country with our dog, Harper.
Vehicle Selection
Our adventure started off on Craigslist. After a month of searching, we found the perfect van to convert - a Dodge B1500. Cosmetically, it wasn't the most glamorous. But the transmission shifted well, it had a working air conditioner and much of the interior had already been deconstructed.
The previous owner had planned on using this as an adventure vehicle for himself but ended up with too many projects on his hands.
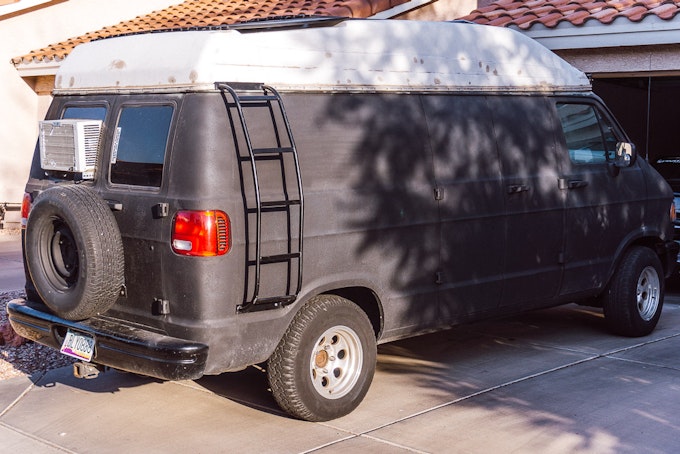
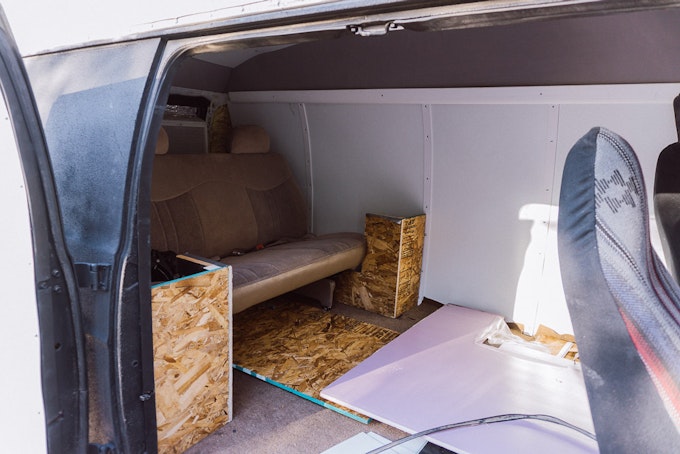
After one nighttime visit and a quick test drive, we put down $3700 and drove away in our new van.
The Exterior
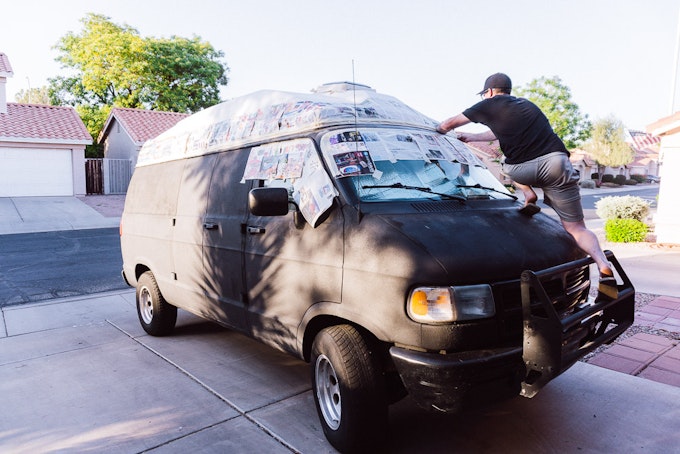
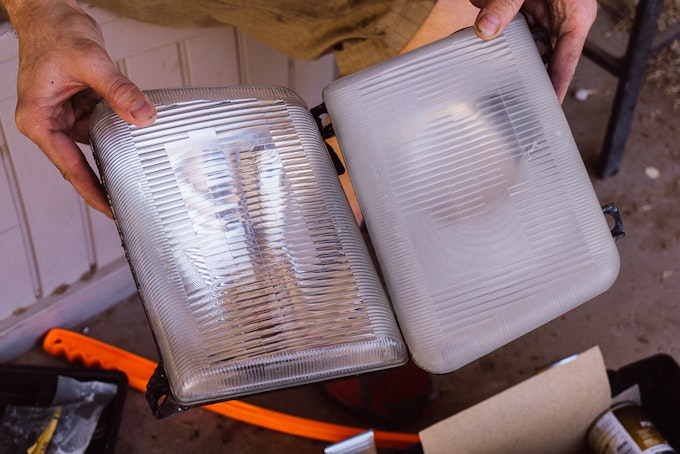
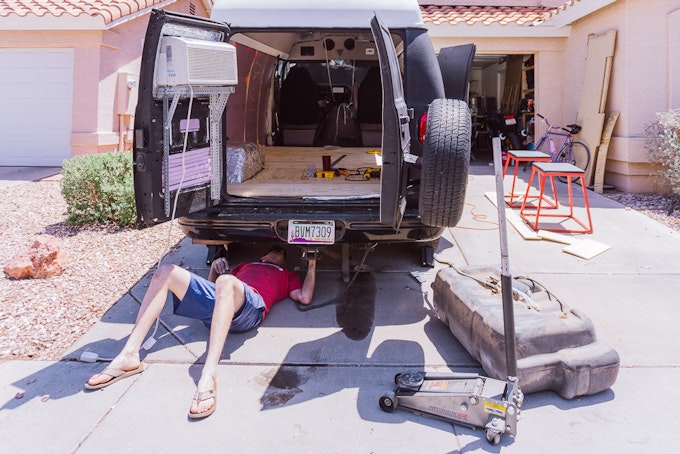
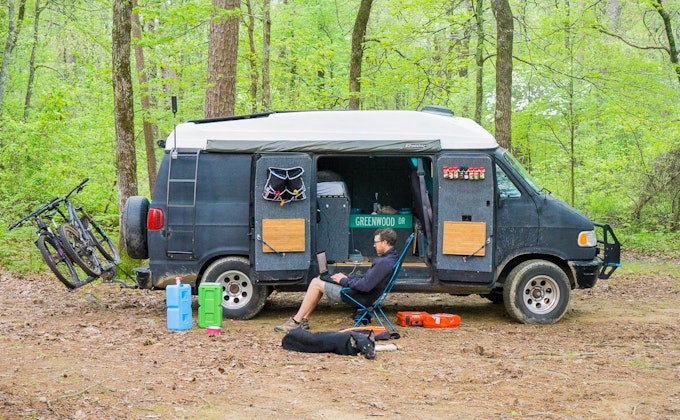
First step was attempting to make our van look a little bit less "creepy." We repainted the top a brighter white and cleaned off the headlights. We also removed the back window air conditioner - which didn't seem to work very well in the Arizona heat anyways.
Insulation and Flooring
The previous owner had already started the van insulation project by installing yellow spray foam. We doubled down and added an additional layer of pink foam on top.
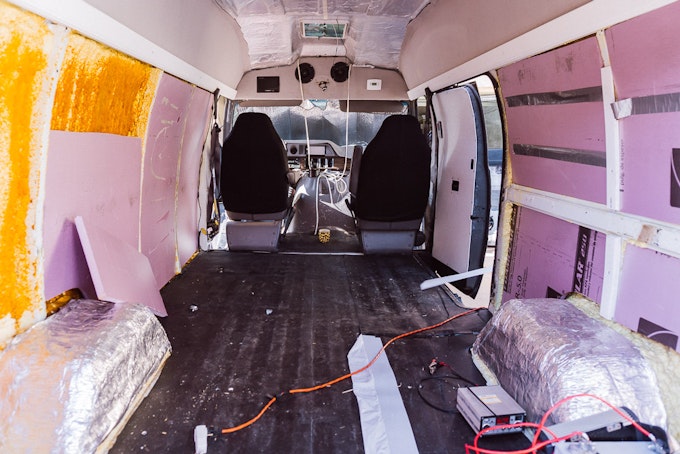
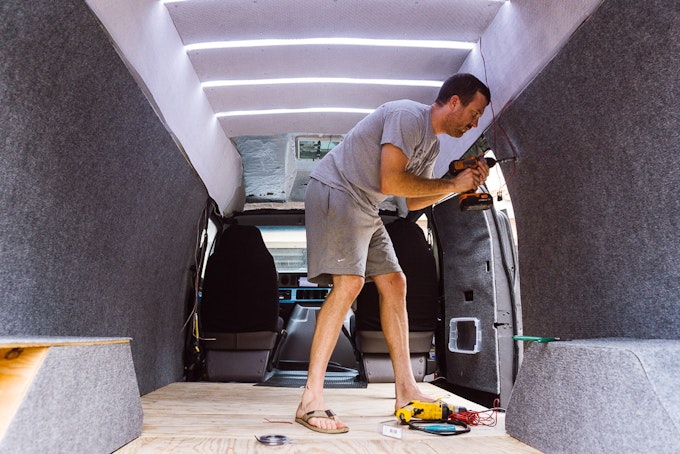
Then we got to work closing everything in with plywood on the flooring and walls. We used self-tapping screws to drill into the metal framing.
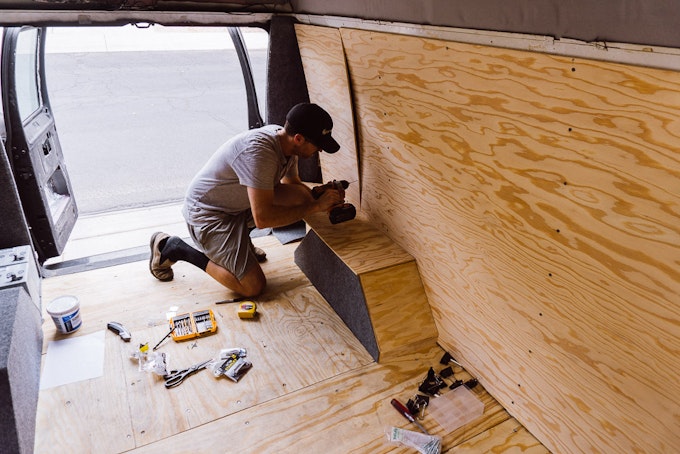
Special note: if you're going to be drilling into the floor, keep track of where the gas tank is! We already made that mistake for you...
Solar Panels
We learned a lot about installing solar panels in this project. Solar is a complicated subject but it all breaks down to this:
- Solar panels collect energy from the sun
- Panels connect to a charge controller which fills up your battery bank
- The battery bank charges your DC electronics (lights, vent fan and refrigerator in our case)
- The battery bank also connects to an inverter
- Inverters power AC electronics (like your laptop, blender or any household items)
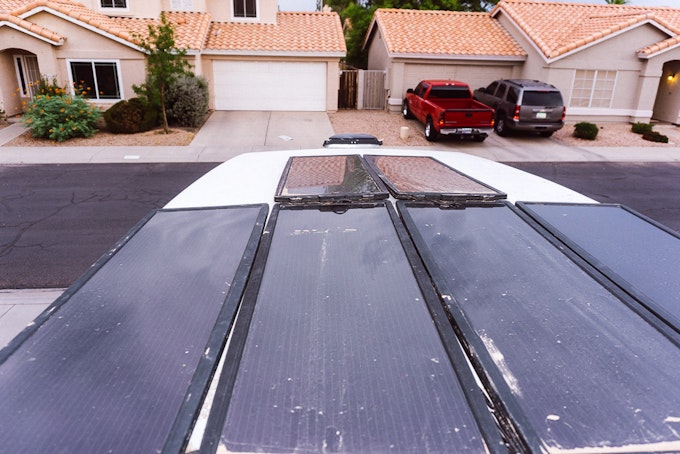
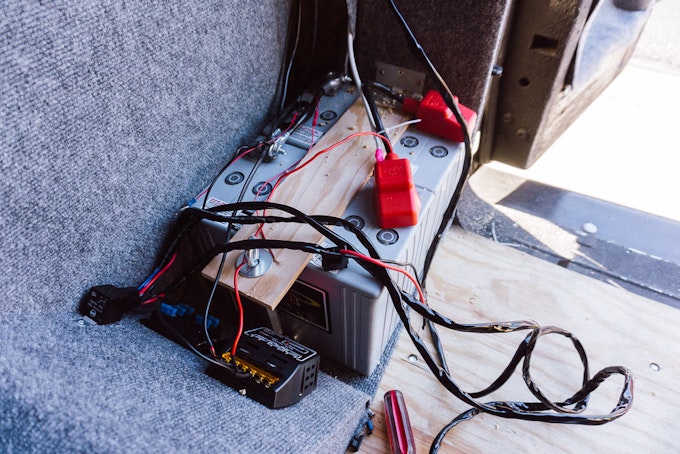
When we bought the van it came with: solar panels, a charge controller, batteries, and an inverter which was a great deal for us! We did not need to buy more electrical components aside from some ceiling lights which saved a lot of time. We did however need to move some of the wiring and add a few fuses so it worked with our design.
The Walls
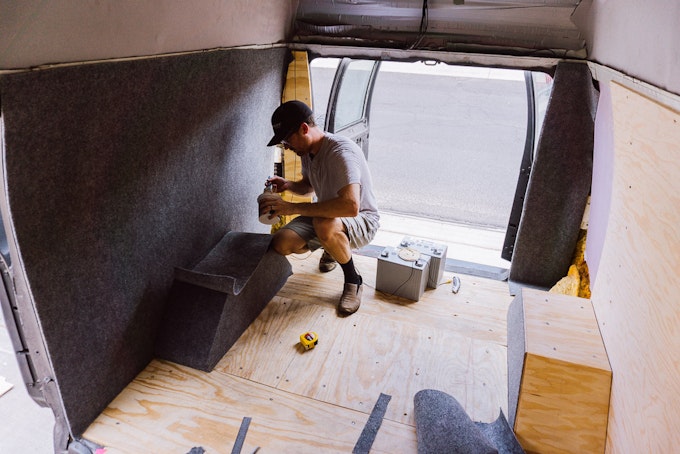
We decided to keep it simple and cover the walls with carpet glue and outdoor carpeting. The carpeting easily covered any flaws in the walls installed quickly.
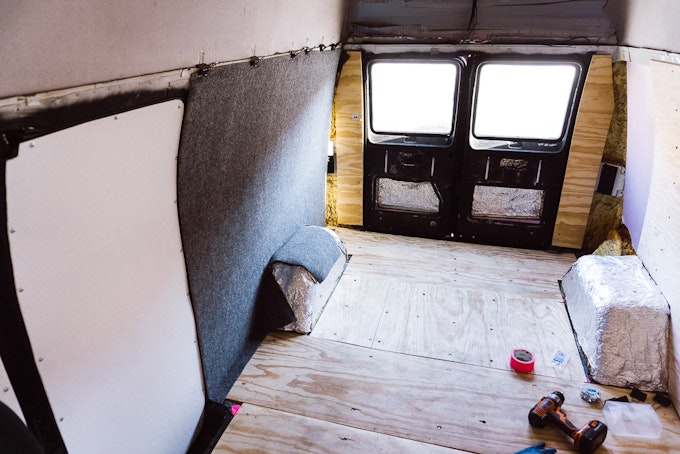
We also built wooden boxes to cover the wheel wells.
Dashboard
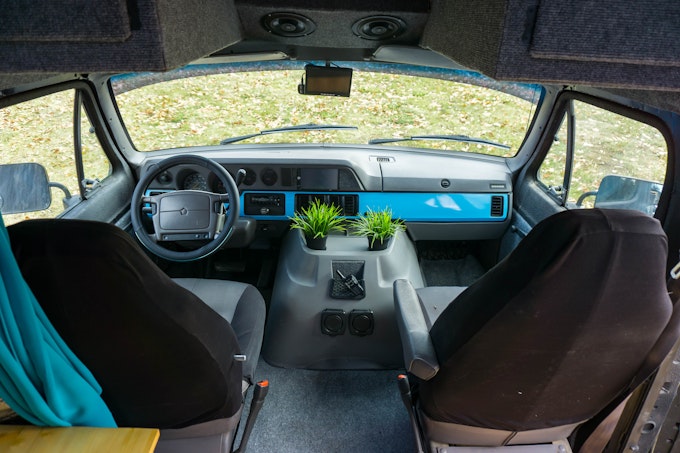
We took off all of the dashboard paneling to clean it up and get rid of the fake wood look.
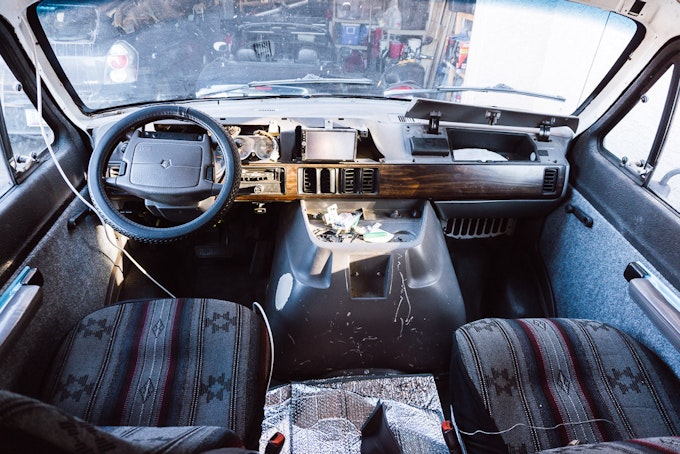
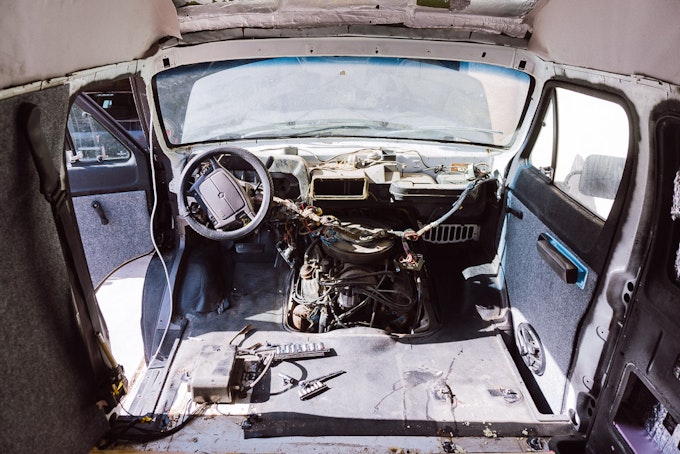
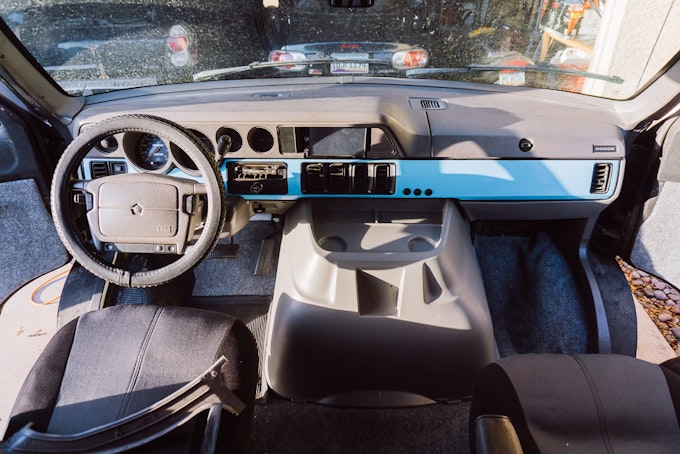
We spray painted all the plastic gray pieces and added blue vinyl to the front.
Overhead Lighting
We cut strips of corrugated roofing and lined LED lights inside of them.
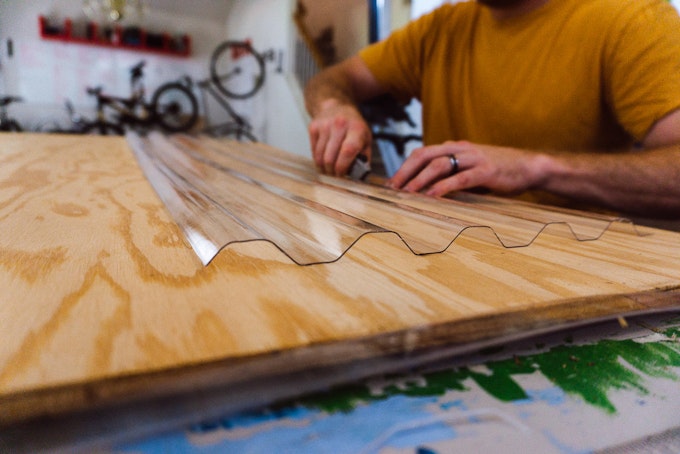
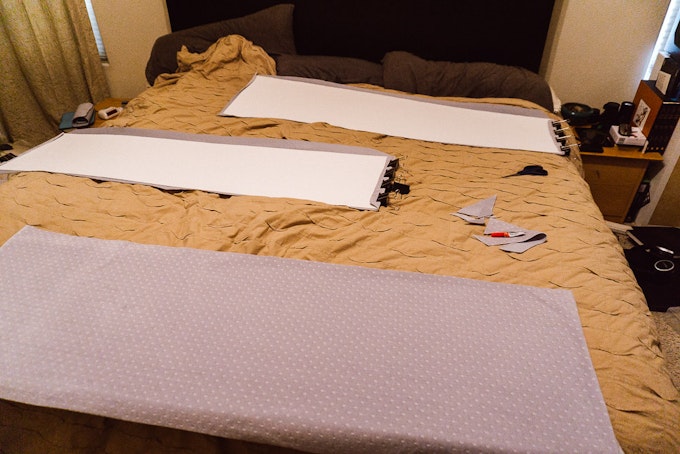
For the rest of the ceiling, we cut sections of FRP wallboard and covered them with fabric. These could be easily screwed into the roof and shape around the vent fan.
Overhead Storage
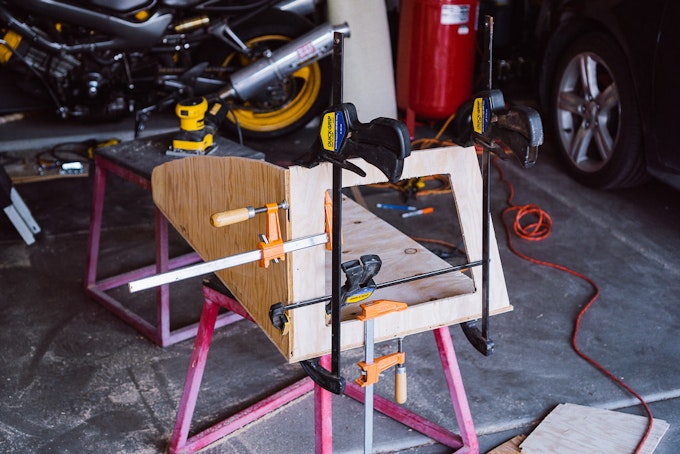
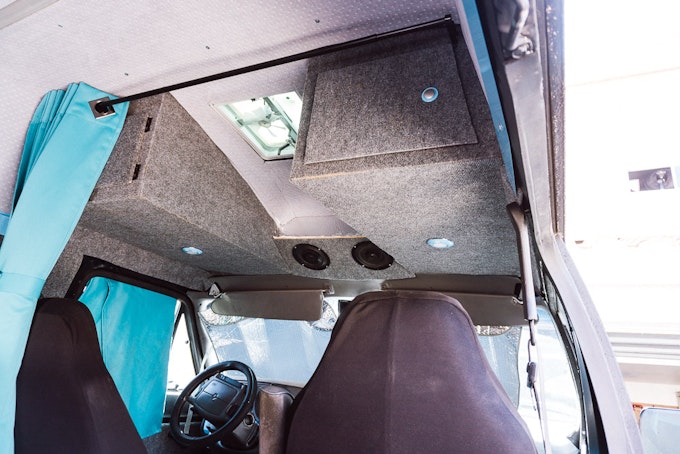
In the cab area we built storage bins to hold extra clothing and accessories.
Bed and Storage
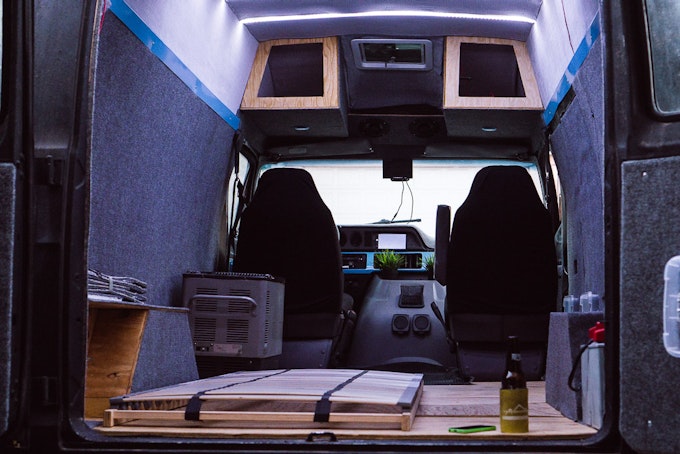
We purchased pre-built bed frames from Ikea which greatly sped up the construction process.
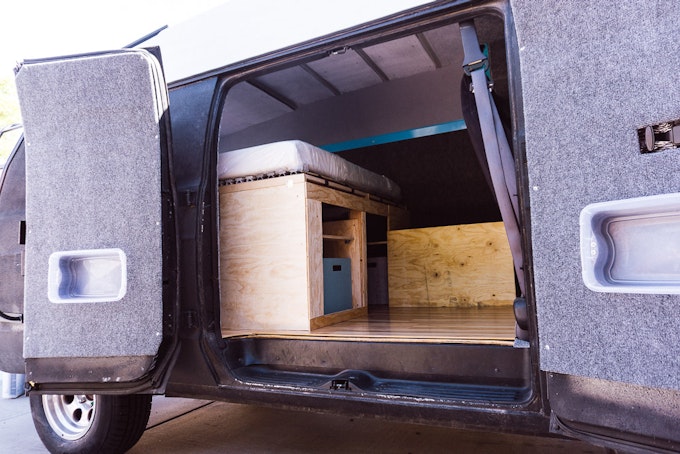
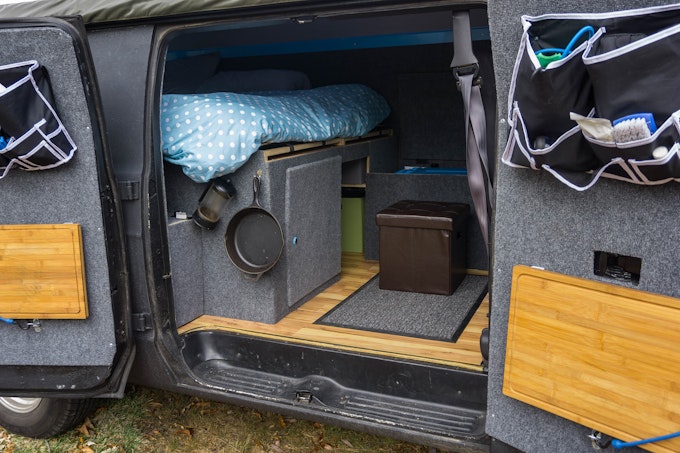
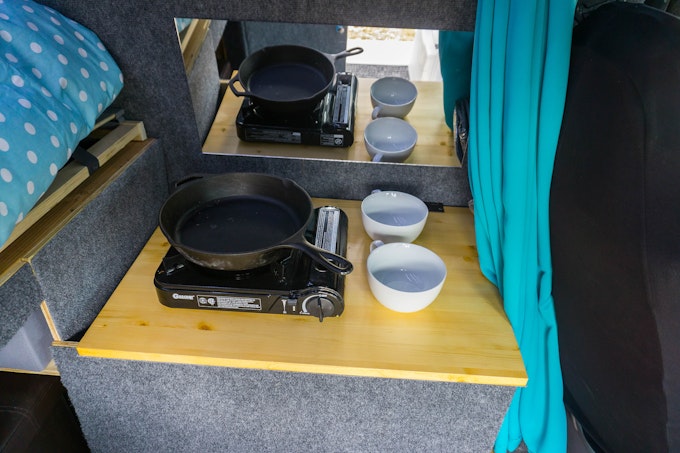
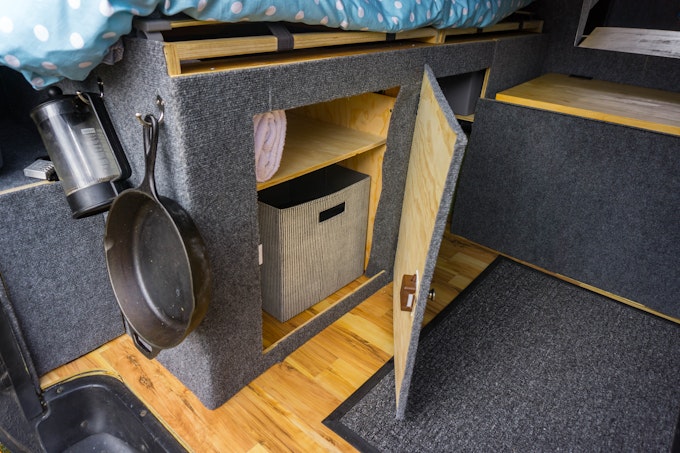
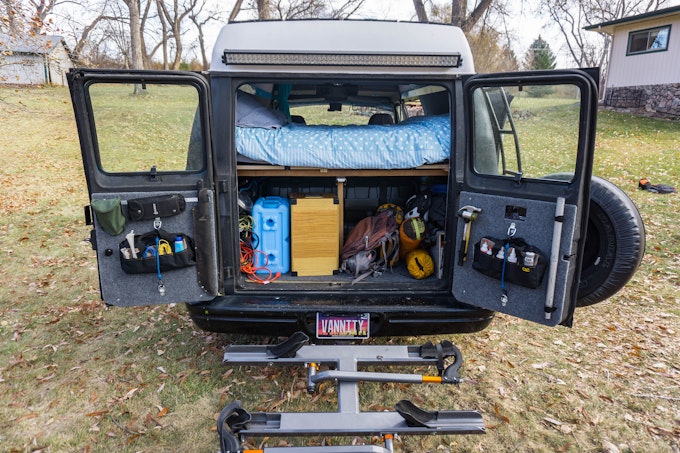
Our mattress was elevated to provide maximum storage space beneath the bed. We also had room for a refrigerator between the cab and bed. To cook, we carried a portable butane stove with us.
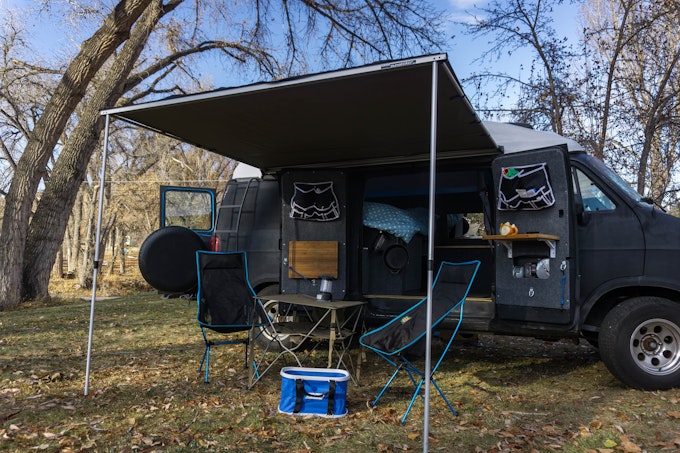
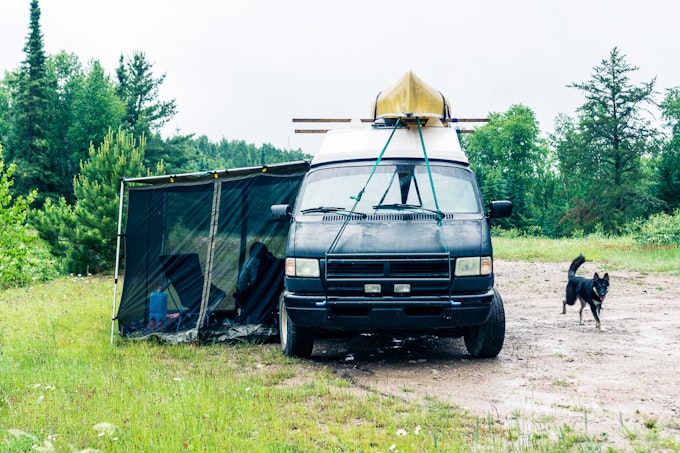
The Finished Product
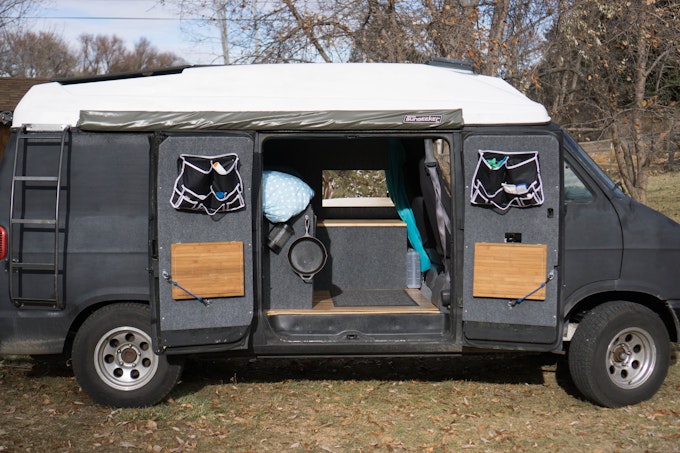
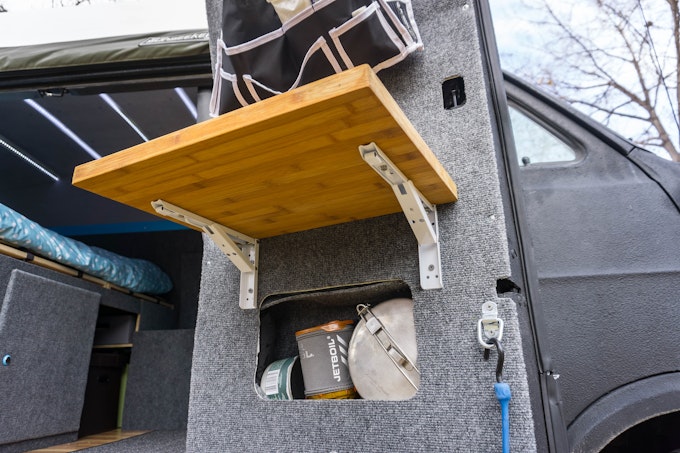
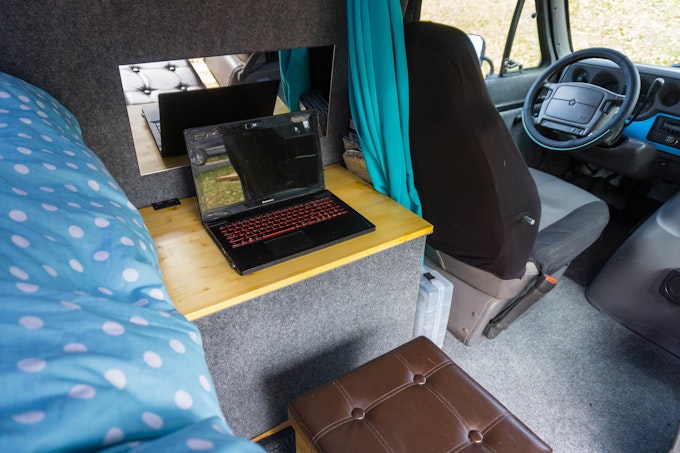
More carpeting, and blue vinyl wrap helped finish out the project.
Build Your Van
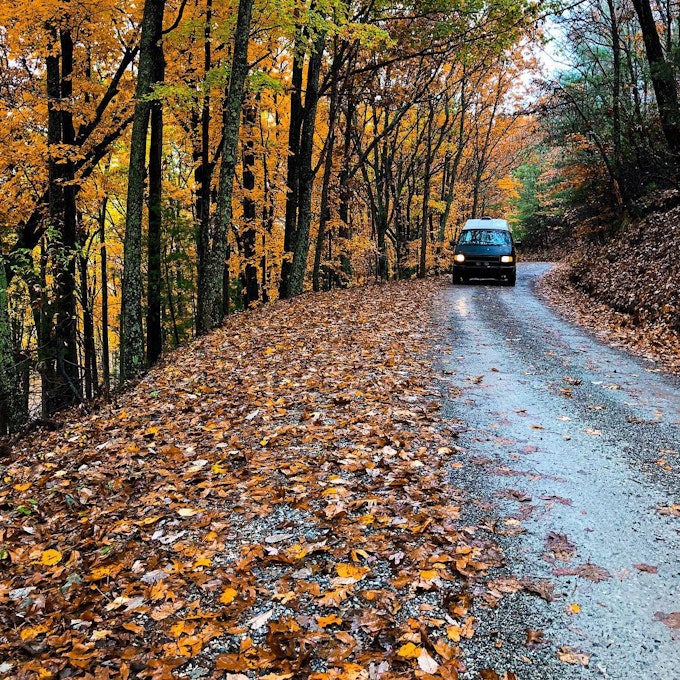
So far this van has taken us on the adventure of a lifetime, and we're still going! We can't recommend taking a trip like this enough. You can find more information on how to build a van in our blog ParkedInParadise.com
We hope to see you on the road!