
The 8-Step Guide to Planning a Thru-Hike on the John Muir Trail
Planning your first long-distance thru-hike can be a daunting task. Last summer, when I was preparing for my 22 day hike on the John Muir Trail, I was ready to pull my hair out. Between itineraries, permits, food, and gear, it was hard to know where to start. What I really needed was a simple plan that mapped out my tasks, and I now know that a little bit of organization when planning a trip like this can go a long way. So stop fretting and get your ducks in a row with my 8-step guide for planning that big backpacking adventure on the John Muir Trail.
Step 1: Decide if you will go solo or with a friend
I hiked the John Muir Trail with one of my closest friends from college, and I’m so grateful we got to experience the trail together. Hiking it with a friend, family member, or significant other isn’t without its challenges though. Throughout the course of your hike you will have very little personal space. You will likely share a tent, see each other naked, and have to deal with each other’s smelly clothes. The hardships on the trail can also bring out personality differences, and you want to make sure you can work through those. That said, if you pick the right companion, you will form a lasting bond and have those shared memories to reminisce over when you are old and gray.
While going solo can be scary, there is a flip side to the coin. It simplifies your planning since you don’t have to depend on someone else’s ability to get the time off work, and you really get to hike your own hike. You don’t have to worry about when the other person is hungry or tired. You break when and where you want, and solo trekking can lead to a whole new kind of self-discovery. Chances are you’ll also make some new friends out there. If you are thinking about going at it alone, you should check out Outbound contributor Ali Gates’s recent post where she shares her tips for solo backpacking.
Step 2: Pick your dates and your starting trailhead
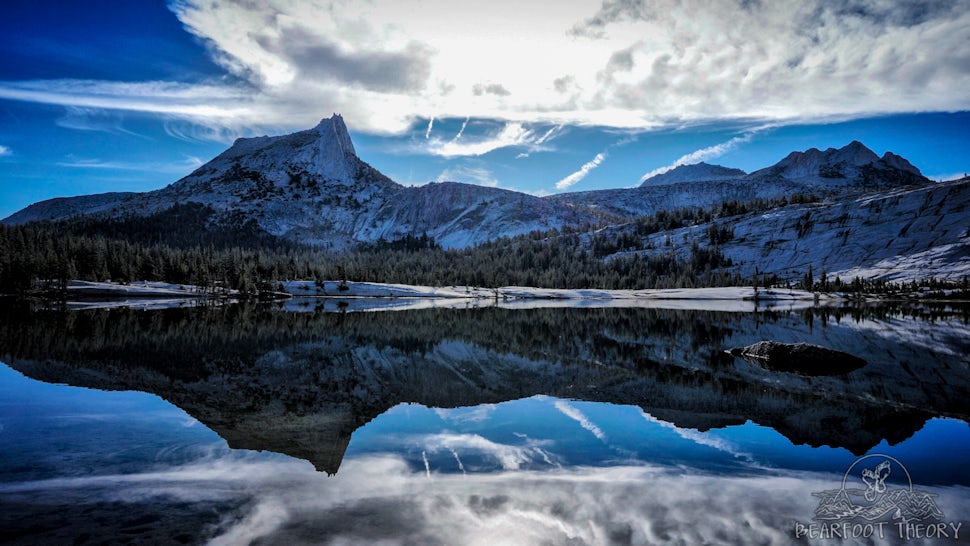
The John Muir Trail runs from Yosemite Valley to the Whitney Portal, and most people start in Yosemite and go south. This direction gives you more time to adjust to the increasing altitude and allows you to work up your endurance as the terrain gets more challenging. The classic route begins at the Happy Isles Trailhead in Yosemite Valley, but there are three other trailheads in the park that also meet up with the JMT. Mid-June to mid-September is prime time on the trail. I departed on August 27th and had near perfect weather. Even with the ongoing drought in the Sierras, we never had a problem finding water and later in the season meant all of the bugs had died off.

Step 3: Apply for a permit
The permit process for the John Muir Trail out of Yosemite is competitive and confusing. Permits become available exactly 168 days before your start date, and if you miss the deadline by even by a few minutes, you will be out of luck. I’ve written about the permit process in an extensive post on my website for those who want more information.
Step 4: Gear up
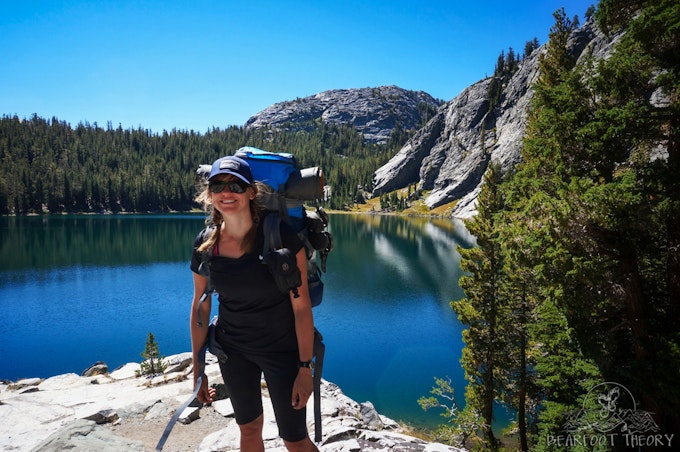
Now the fun part. The gear. Your basic backpacking gear should be fine, but if you are in the market for some new stuff, a simple google search will turn up tons of John Muir Trail gear lists. Here is mine. The key is you’ll want to pack as light as possible while still having what you need to be comfortable. That means having a solid tent, warm clothing for those cold Sierra nights, rain gear, necessary first aid supplies, an efficient stove, and the other backpacking essentials. Limit your shirts, socks, and undies to 2-3 pairs, and leave the makeup and (dare I say) deodorant at home. It’s also a good idea to test everything out before you hit the trail. The last thing you want is to find out that your pack rubs in a weird spot or your water filter is broken after you are already out on the trail.
Step 5: Start Training
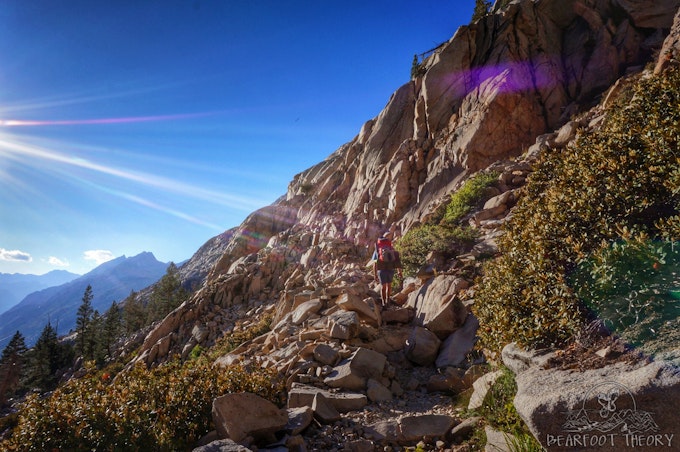
The first few days are going to be tough no matter what, especially if you aren’t used to the altitude. As you huff and puff your way up the mountain on day 1, just remember that your legs are getting stronger by the hour and before you know it, you will be crushing those miles. That said, the better shape you are in before you start, the more fun you are going to have. Squats, lunges, core work, walking uphill, and cardio training are great ways to prepare. Just find something you love and do a lot of it.
Step 6: Map out a loose itinerary
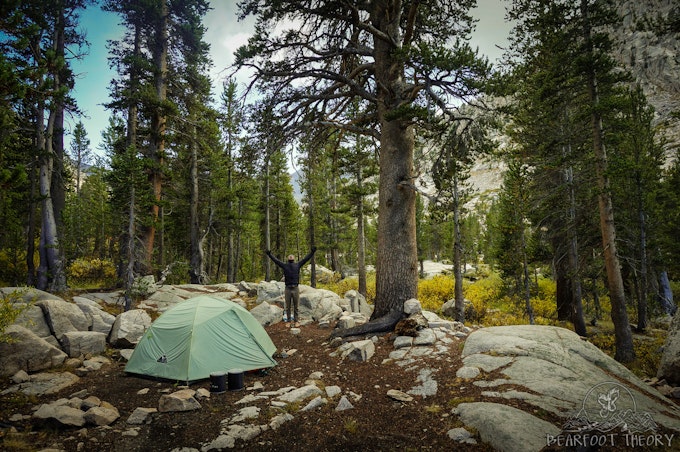
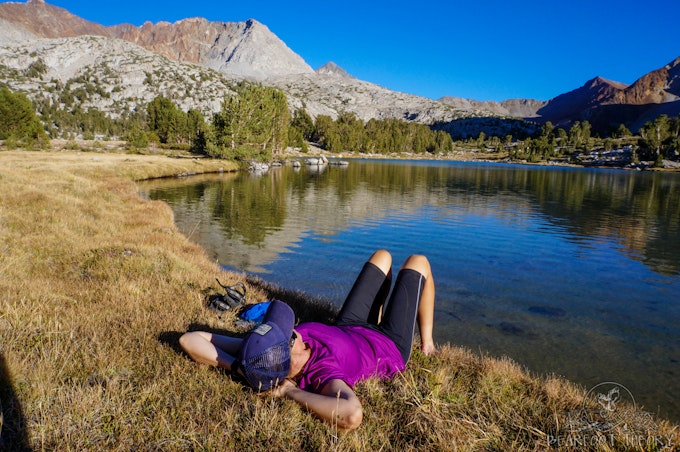
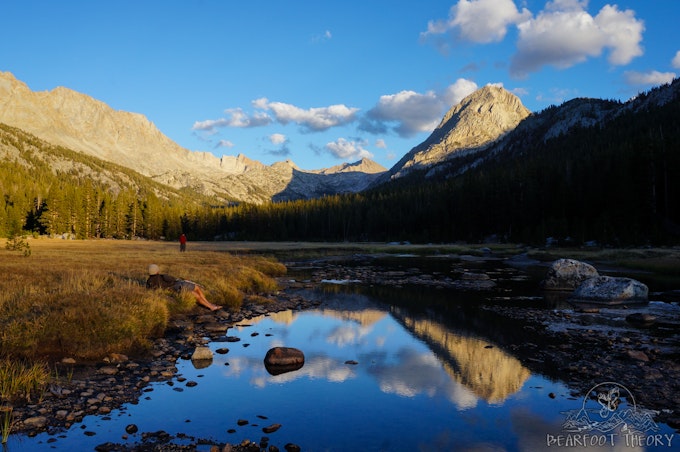
There are several map packs and trail guide books available on the John Muir Trail. I’d recommend buying whichever you plan to bring on the trail and study them ahead of time. Make note of any particularly awesome spots on the trail that you definitely want to camp at or any side hikes you might want to do. Then get a general idea of your desired pace and the total number of days it’s going to take you to get to each resupply point. What you don’t need to do is pre-determine your campsites every single night because once you are out there, your plan will inevitably change. Some days you won’t cover as much distance as you expect. For instance, you might come across the most tantalizing lake and decide to take a long afternoon swimming and sunbathing break. Other days, you’ll be cruising and bypass your planned destination way earlier than you imagined. By building some flexibility into your overall plan it ensures that your hike remains enjoyable while keeping you on track.
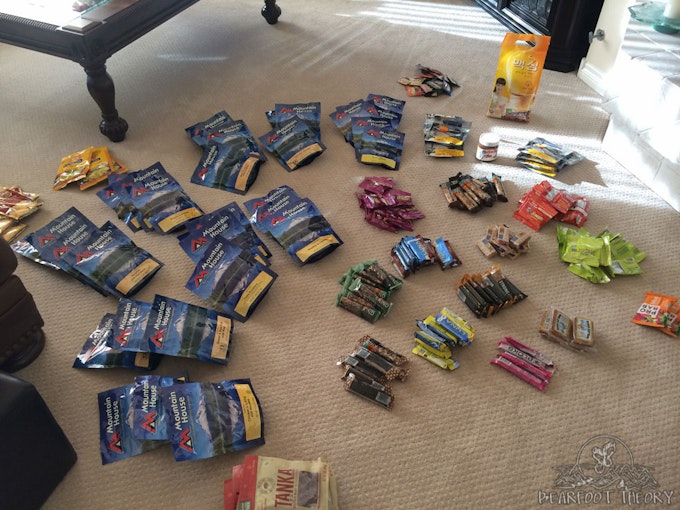
Step 7: Go food shopping and ship your resupply packages
Trying to figure out how much food you need each day for 3 weeks is the most difficult part of planning your John Muir Trail hike. If you are hiking in a group bigger than 2 people, I recommend everyone be responsible for themselves, since it makes the portion planning much easier. Plus you can always trade or share when you get sick of your own food. Unless you are a backcountry gourmet, make things simple by sticking to meals that don’t require a lot of preparation. Oatmeal, tuna fish, salami, bars, dehydrated backpacker meals, ramen, cous cous, and instant mashers are just a few suggestions that are lightweight, filling, and require very little cleanup. Don’t forget you’ll need a bear canister too, and all your food for each section of the trail will need to fit in it.
There are several places along the John Muir Trail where you can mail yourself packages, and most people resupply 2-3 times. To help you determine your resupply strategy, I’ve written a comprehensive post on my website with all of the necessary logistical info. The most important thing is that you don't leave this until the last minute. Most of the resupply spots recommend sending your package three weeks ahead of your intended arrival.
Step 8: Pack your bags and go!
Now all the hard work is done and you can breathe. The only last detail that you’ll need to figure out is your transportation. Either make arrangements to have someone drop you off and pick you up at the end, or take two cars and park one at each of end of the trail. I suggest spending one night at one of the established campgrounds in Yosemite the night before your hike. It will give you a chance to take a last minute inventory of your gear, split up any group items, and maybe even take a nice sunset hike to get those lungs working. Once you depart on your 212 mile journey, remember that it’s all about having a good time. Stay up late stargazing, snap tons of pictures, embrace every moment of the extraordinary scenery, and never pass up that perfect swimming hole.
Follow Kristen's adventures on her Website, Facebook, Twitter, and Instagram.
We want to acknowledge and thank the past, present, and future generations of all Native Nations and Indigenous Peoples whose ancestral lands we travel, explore, and play on. Always practice Leave No Trace ethics on your adventures and follow local regulations. Please explore responsibly!
Do you love the outdoors?
Yep, us too. That's why we send you the best local adventures, stories, and expert advice, right to your inbox.


