
7 Essential Waterfalls Photography Tips
Ever wonder how a photographer captures a waterfall with silky smooth water flowing over a cliff or cascading down rocks? Below are 7 essential photography tips that will help you create this effect on your next adventure.

1. Shoot on Overcast Days
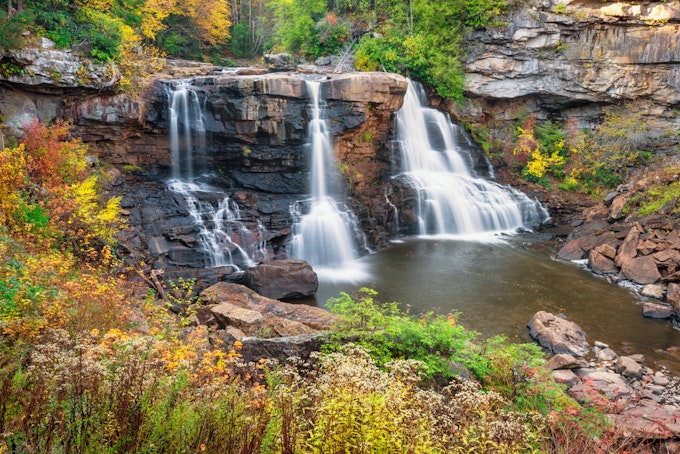
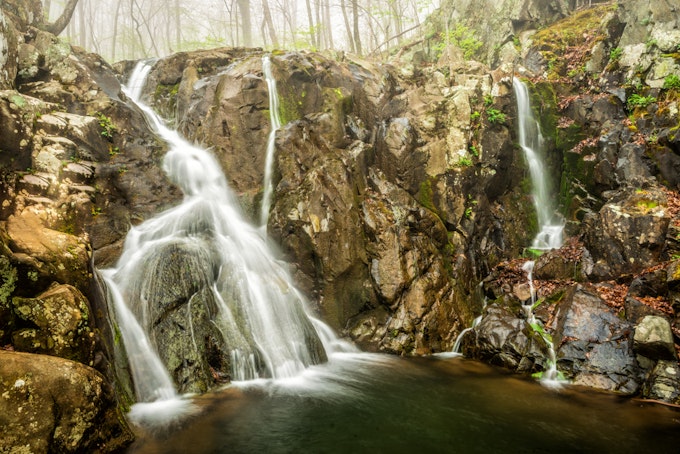
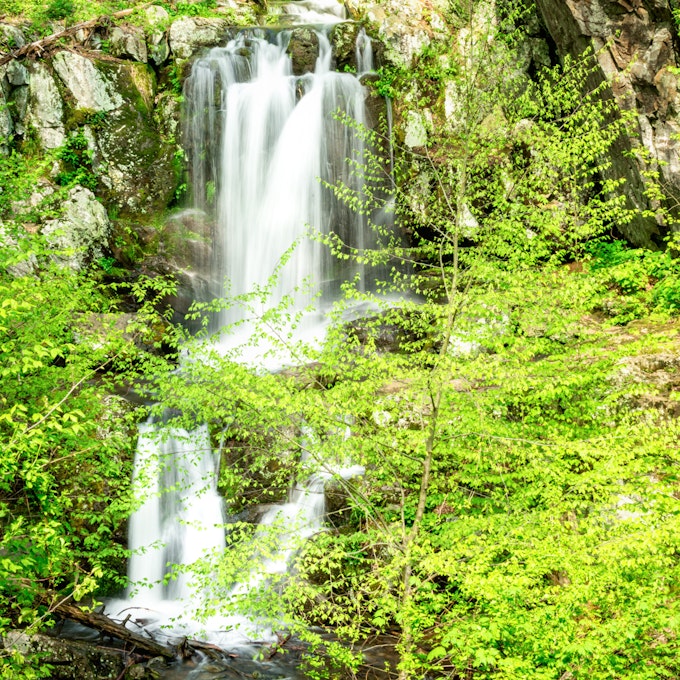
Light is everything in photography, and the best time to photograph waterfalls is on overcast days. An overcast day provides even light across the waterfall, which prevents bright highlights and dark shadows from creating dappled light. The overcast sky also brings out the rich colors in moss and fall colors. But one of the best things about overcast skies is the ability to use longer shutter speeds without filters. To achieve long shutter speeds, set your camera’s ISO to its lowest native setting (usually ISO 100), and use a small aperture (f/10- F/22). A long exposure is what creates the smooth silky effect in the water. Usually, a 1 - 5 second exposure will create this effect. If your camera is at its lowest ISO and smallest aperture and your shutter speed is still too fast, then you will need to add a filter to the front of your lens.
2. Filters
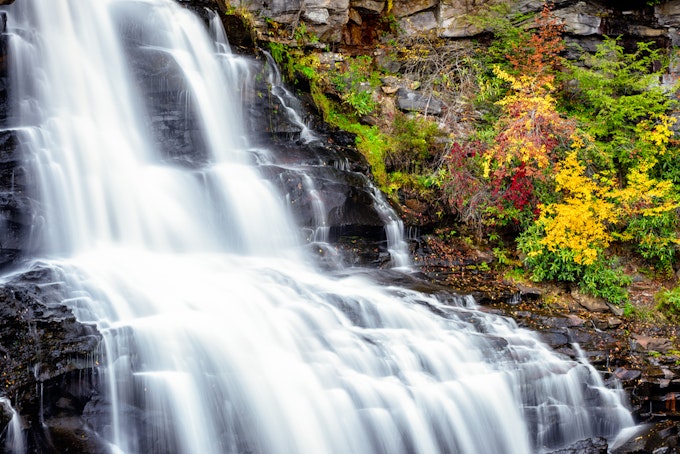
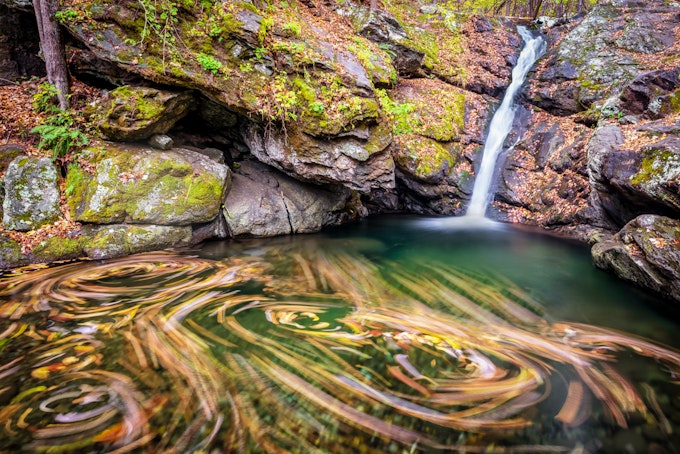
When photographing waterfalls, the two most useful filters are a Circular Polarizer (CP) and a Neutral Density (ND). Most landscape photographers use a CP filter to enhance the color of the sky, but it can also be used to remove the glare from water and wet rocks while enriching the colors to a deep natural look. Most CP filters also block 1- 2 stops of light which will slow the shutter speed allowing you to create the smooth water effect. ND filters are a dark piece of glass placed in front of the lens reducing the amount of light passing through lens. This allows photographers to use long exposures even on bright sunny days. ND filters come in strengths blocking anywhere from 3 to 15 stops of light. I used a 10 stop filter in the below image which allowed me to take a 7 minute exposure.

3. Solid Tripod
A long exposure is the key to creating the smooth silky water effect, and a sturdy tripod is required to ensure the camera is completely still during the length of the exposure. If there is any movement or camera shake during the exposure, no matter how minor, the image will not be sharp.
4. Composition
Having a great composition can make or break an image; luckily waterfalls usually offer a photographer a few different ways to compose the image. A few examples are using the stream/river as a leading line to draw the viewer’s eye through the image to the waterfall or adding a human element to the image to show the size of the waterfall. Also, when composing a waterfall’s image, limit the amount of sky that is can be seen. When shooting on overcast days, the sky is gray and boring and can take away from the overall image leading the viewer’s eyes away from the waterfall. The key to composition is in composing the image to draw the viewer’s eyes through the image to the waterfall with little or no distractions. For more landscape composition techniques click here.

5. Shoot Tight
Most photographers put their wide angle lens on their camera to capture the beauty of the whole waterfall, which is great, but once you have the image you like of the whole waterfall try photographing the waterfall with a telephoto lens. A telephoto lens will allow you to create unique abstract images of even the most famous waterfalls. With a telephoto lens, photographers are able to isolate small section of the falls which highlights the magic of texture and colors of nature.
6. Rain Sleeve/ Lens Cloth
The main element in a waterfall is water, and water and electronics don’t mix well. Waterfalls can create mist and spray which will get your camera wet. To protect your camera and lens from the water, consider buying a rain sleeve for your camera to keep it dry. There are some expensive rain covers out there, but I use OP/TECH USA rain sleeves, which are less than 7 USD for a pack of two and have done a great job keeping my camera and lens dry as a bone. Along with a rain sleeve, a lens cloth is a must item to have with you. When water droplets freckle your lens’ front element or filter, you will need a way to wipe them away without smearing them. A good habit for photographing waterfalls is you take an image and then wipe your lens before taking another image.
7. Don’t be Afraid to get Wet
As long as it is safe, getting in the river or stream allows photographers to create some breathtaking images. The best time to photograph waterfalls just after a heavy rain when the river or creek is full of water, but be careful walking on wet rocks because they will be slippery. Also, consider wearing waders. A decent pair of waders will keep you warm and dry, which allows you to remain a long time in the river to take images. Remember be very careful with your gear because, once again, water and electronics don’t mix well.
Visit Blue Ridge Imagery to lean more photography skills.
We want to acknowledge and thank the past, present, and future generations of all Native Nations and Indigenous Peoples whose ancestral lands we travel, explore, and play on. Always practice Leave No Trace ethics on your adventures and follow local regulations. Please explore responsibly!
Do you love the outdoors?
Yep, us too. That's why we send you the best local adventures, stories, and expert advice, right to your inbox.


