
The Beginner's Guide To Photographing Waterfalls
Capture your favorite cascades the right way.
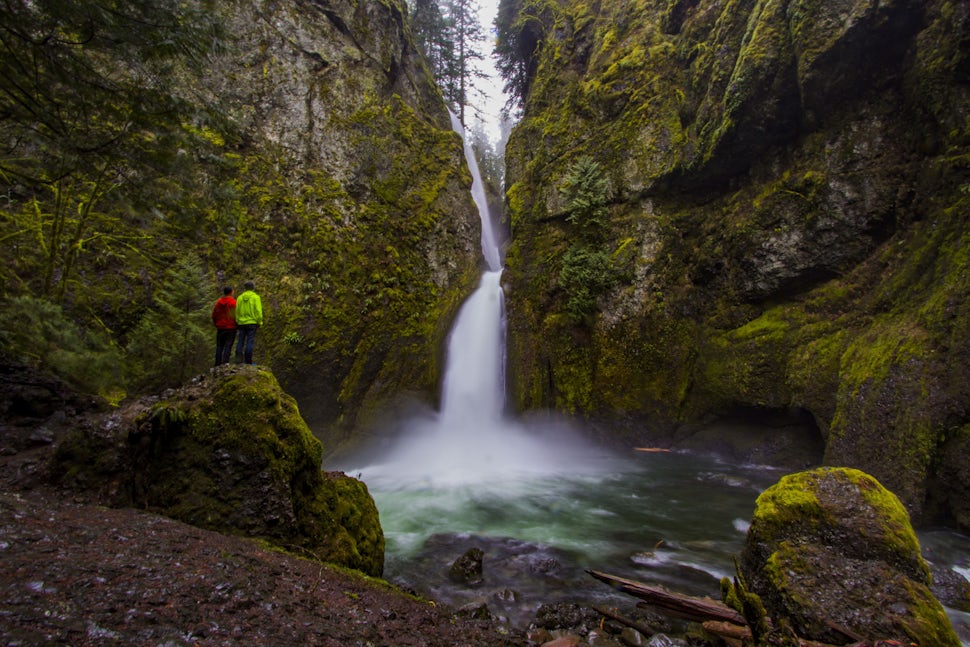
Last summer, I worked at a studio with the intention of helping design a magazine. I ended up getting stuck taking photos for our magazine. I was very disappointed, as I thought that my phone could take the same quality pictures as a camera. Boy was I wrong. I just wasn't aware of all of the special things that a camera does with aperture, shutter speed, ISO, and so much more. After I left the studio, I decided that I enjoyed taking pictures with the camera so much that I thought I would buy a camera to photograph the many adventures I went on at the time. The first waterfall photos I ever took were on a camping trip to Silver Falls State Park, and the photos did not turn out the greatest. Of course, skill comes with practice, so I kept photographing waterfalls. Waterfalls are my favorite thing to adventure to and photograph by far. A waterfall in a picture may look small, but when you actually reach the waterfall, you truly see it’s size and power, which is one of the most rewarding things for me. This guide is something that I wish I had a long time ago and if you want to learn to shoot waterfalls, I hope this guide is helpful.

First off, you will need to know what gear to have in order to shoot the highest quality picture:
1. DSLR Camera
Obviously, to take photos of the waterfall you encounter, you will need a camera. Any DSLR will work. While it is true that some of the higher end cameras getting up in the $3000’s take excellent photos, any DSLR will work. Many of the photos you will see below were shot with my first camera, which happened to be the Canon Rebel t5. You can obtain one of the t-series cameras from Canon for around $500. A full frame camera will work a little better, but a cropped sensor camera will be just fine. As I stated before, any DSLR will do the trick!
2. Ultra-Wide Angle Lens
Second most important to the camera itself is the glass you put on it. The worst feeling is putting on your 35mm lens and not being able to get enough of the background because the waterfall is right around a corner. I recommend something in the 10-22mm range. The wider the lens, the better. Not only is the waterfall important, but the surroundings are too, and you will need an ultra wide angle lens to capture as much background as possible. It is always better to go back and crop later than not be able to get a wide enough shot.

3. Tripod
A tripod is absolutely essential if you wish to shoot long exposure, which can be seen below. You will not be able to hold your camera still for a long enough time to capture a motion blur on the water, so you put your camera on the tripod to achieve this for you. I recommend the Backpacker from MeFoto. It’s lightweight and easy fold up is great for hiking in to waterfalls and the head will swivel and stay any which way you may need it to go to capture the shot. On a hill? Not a problem, the legs are all 100% adjustable to stop at any length you would like.
4. Neutral Density Filter
These are like sunglasses for your lens. A filter is extremely important if you wish to take long exposure photos (again, see below). Chances are, it isn’t going to be dark enough outside to open your shutter for 5 seconds and not have the picture way overexposed. The ND filter I use costs about $80, but is well worth the cost. I use it almost every single time I am photographing anything that moves in the daytime. With this filter, it allows you to open your shutter between 2-10 stops (clicks) more than you could before. You are able to turn the filter when it is on the camera to adjust how many stops it goes, which is also extremely useful. With this filter, I am able to take 30 second exposures in bright daylight and have the photo be properly exposed.
5. Lens Cleaner
Since you will likely get the spray of the waterfall at least once, a lens cleaner would be ideal so that you can wipe the lens in between shots. Any camera shop will sell some kind of cloth to do this, and you can usually pick something like this up for between $5-$10.
Now that you have the gear, let’s talk about the different kind of shots you can take:
Quick Shutter Speed: 1/4000 with f/3.5 and ISO 800 at 10mm on a cropped sensor.

Long Exposure: 2 second shutter speed with f/22 and ISO 100 at 10mm on a cropped sensor.

The first shot can easily be shot by holding the camera in your hands, since the shutter speed is so quick. I completely opened my aperture and turned up my ISO on that photo in order to get the quickest shot of the water that I could. The end result turned out great with being able to see each little ripple of water.
On the second photo, I had my ND filter on with the camera on the tripod. I lowered the ISO and closed the aperture as much as I could in order to be able to expose the photo for longer. This shot has to be taken on a tripod, or else it will be blurry due to the shaking of the camera in your hands.
You can decide which photo you like better and attempt to shoot a waterfall that way, or I recommend attempting both and then editing both of them after your shoot. Both of these photos are edited in photoshop, which I believe is an essential for any photographer.
For more tips on getting the best photos on your adventures check out these articles:
8 Tips For Taking Epic Adventure Photos
10 Essential Gadgets For Adventure Photography
Cover photo: Austin Jackson
Don't see your favorite adventure on The Outbound? Show us by creating an adventure.

Please respect the places you find on The Outbound.
Always practice Leave No Trace ethics on your adventures. Be aware of local regulations and don't damage these amazing places for the sake of a photograph. Learn More
We want to acknowledge and thank the past, present, and future generations of all Native Nations and Indigenous Peoples whose ancestral lands we travel, explore, and play on. Always practice Leave No Trace ethics on your adventures and follow local regulations. Please explore responsibly!
Do you love the outdoors?
Yep, us too. That's why we send you the best local adventures, stories, and expert advice, right to your inbox.


