High-Key vs. Low-Key Photography: Moody Landscapes
Feeling out the mood of your landscape

Photos = mood rings. One of the things that I think makes photographs so special and unique, and why all humans with a vehement interest in imagery can and should consider a serious pursuit of professional and/or amateur photography, is that no matter the circumstance or the vision, they all come out differently. And if you’re like me, often times, nothing like you’d expected or imagined :) You and I could take the exact same photography prompt – same concept, same location, same actors/props, same equipment - and come up with entirely different pictures. This probably rings true for all of the arts, really, which, I think is perhaps the point. To evoke feeling through interpretation. Though it (photography) can be a highly technical medium, it’s also hyper ‘feels-based.’ <<< Nominee for understatement of the week.
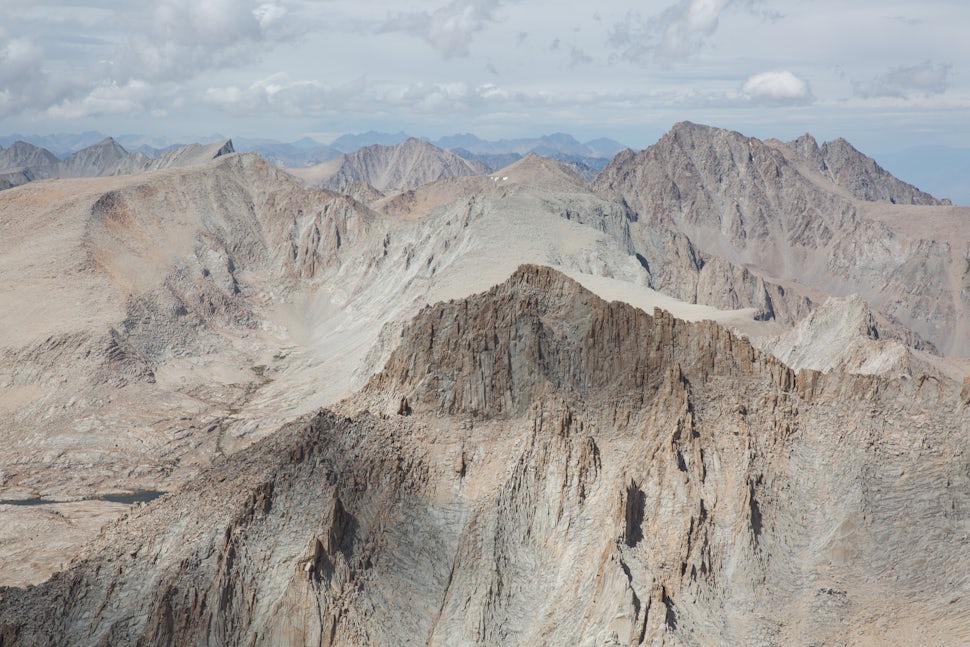
Seeing that light v. dark/good v. evil are some of, if not the most OG literary and artistic themes, I wanted to quick post on similarly dichotomous photographic techniques known as high-key and low-key. Shooting high-key photographs involves exposing/metering the light in your composition for the dark areas/details/shadows. Behind the viewfinder, you’d achieve this by aligning your autofocus points to meter/read light in the darkest point/area within the frame (provided your camera is in AF mode and you know how your camera is set up to meter light – this should be contained in the menu settings, and will likely be housed in any number of subfolders, depending on your equipment). In landscape photography, metering for the darkest areas of your photo brightens or intentionally overexposes the other areas of the image, creating a bright, ethereal image – like the one you see below.

In studio photography, same thing. Though through the viewfinder, often times, shooting high-key studio photography involves using any number of lights (usually up to 4 – key light, fill light, etc.) to create a similar ‘feel’ to an image by intentionally overexposing it. Usually, these images are supposed to be happy, warm, etc. Conversely, as you might imagine, low-key photography involves the exact opposite. In landscapes, you would expose/meter the light in your composition for the light areas/highlights, thus, underexposing the rest of the image to create a sense of darkness. Behind the viewfinder, you’d achieve this by aligning your autofocus points to meter/read light in the lightest point/area within the frame. These images tend to be darker, more ominous, foreboding, etc., like the one you see below.

Being aware of and knowing these techniques can help you on your next trip. Part of the key (pun very intended) I think of utilizing these methods and putting them into practice requires that you read your scene and feel out the mood of your landscape (and the emotion you’d like to convey/style you like to shoot, despite the existing conditions), based on how you intend to frame the image, weather patterns, volume of light, cloud patterns/movement, etc. Getting an initial read on some of these things will allow you to assess the scene, and, should you choose to incorporate high- or low-key shooting tactics/strategies into your photography, choose which method and how best to meter the light to achieve your desired result. Many times, you may find that you don’t necessarily want to expose an image for the darkest or lightest area, but would rather kiss it with soft light/darkness. Treat your light metering/exposure as a sliding scale. Find a somewhat dark area (not necessarily the darkest), meter it, shoot it, and check the result. Do the same on the light side. Experiment. Play around. Find what you like. After all, that’s what it’s all about!
Note: Generally, if you expose for the darkest area of a composition (overexposing much of the image), you will lose a lot of the detail in the frame that cannot be recovered (i.e. these photos are ‘blown out’). If exposing for the lightest area of the scene, you will underexpose most of the image, but can recover most of the detail in the image using editing software or other post-productions methods to brighten it.
Note 2: A lot of the moodiest edits you’ll see out there are just that – edits. A lot can happen to a photograph after it’s shot. The information contained in this post only discusses how high- and low-key photography related to in-camera processes and light metering. The differences can be subtle :)
We want to acknowledge and thank the past, present, and future generations of all Native Nations and Indigenous Peoples whose ancestral lands we travel, explore, and play on. Always practice Leave No Trace ethics on your adventures and follow local regulations. Please explore responsibly!
Do you love the outdoors?
Yep, us too. That's why we send you the best local adventures, stories, and expert advice, right to your inbox.


