
First Camera: Beginner Tips
I had been contemplating stepping up my camera game for a while now and I finally decided to get a DSLR. Although I have taken some nice shots with my iPhone camera, it was time for an upgrade.
On a recent college grad’s budget, I opted for an entry level camera in the $800-$1000 dollar range. Eager to go out shooting, I was unprepared for all of the features and my first shots did not come out as planned. It was time to do a little studying!
At first, I can’t lie, all of the options were a little intimidating and I had no idea where to start. My first step was to go through the modes of the camera, from full auto all the way up to manual. Once I understood some of the different modes it was time to learn some of basics of photography.
The Balancing Act
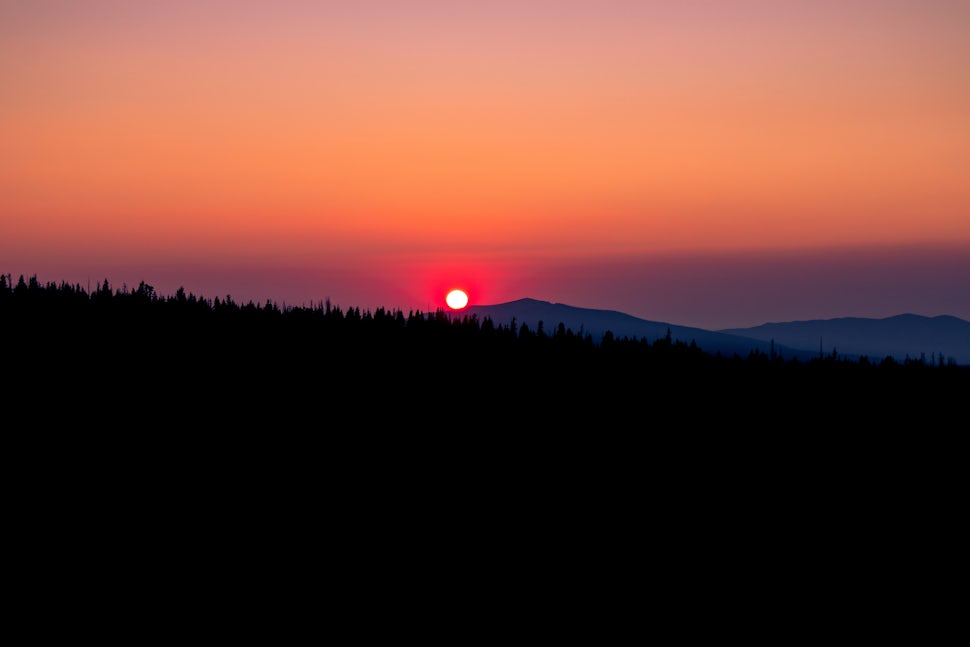
The first and quite possibly most important lesson I learned was the balancing act between shutter speed, aperture, and ISO. Understanding this lets you properly expose your image without it being too washed out or underexposed. ISO is the sensor’s sensitivity to light, in bright conditions lower ISO will allow the image to be properly exposed, and in dark conditions, for example in astrophotography, higher ISO will allow the camera to pick up more light. There is a slight caveat to this however, the higher the ISO, the more grain you will have in your image. A quick shutter speed allows you to capture fast moving objects and it also lets in less light. Slow it down and you can let in more light but moving objects might be blurred. Aperture decides the images depth of field, or how much of the image is in focus. A wide aperture setting lets in the most light and has a shallow depth of field allowing your subject to be the only thing in focus. That might be better for portraits, but a more narrow aperture allows more of the frame to be in focus, which is better for landscapes. These apertures allow less light in to the camera. When thinking of properly exposing your image you have to balance these three factors. To do this, I learned to prioritize the element that is most important to the shot and control the light with the other two settings. Luckily, cameras have both shutter and aperture priority settings that make this easier for us!

Manual Mode
Once I was comfortable with some of the other modes it was time to switch into manual. At first this can be an intimidating step. There are focusing options, exposure options, light metering choices, image quality settings, and the list goes on. The best way to get comfortable with all of these is to play around with them one at a time. As I started to figure out which settings did what, I was able to add a bit of creativity to my photos and taking pictures started to feel more like an art. I will warn you though: I definitely missed some great shots because I didn't have the settings needed for proper exposure.
A Simple Trick for Proper Exposure
During the first couple weeks of having my new camera I was terrible, I mean really bad, at properly exposing my images. If my composition was a landscape or something seemingly still, I learned to take images in sets of 3, one at the setting I think is correct, one more exposed, and one less. You can set this to happen automatically so you don’t need to change anything between shots. This usually gave me one good picture that was at least close to being properly exposed.
The Power of Post
If your like me and missed good shots due to exposure images, don’t worry there’s still hope! Besides my camera, Lightroom is my new best friend. I was so surprised at how much can be recovered from what I thought was a bad picture. Of course getting things as close to what you want in the camera makes editing faster and easier, but the power of editing software today continues to amaze me.
Gear
Once I got my camera, I thought that I was ready to go for every situation, little did I know, I’m now always looking for my next piece of gear. First and foremost, I would strongly recommend a tripod, it allows slower shutter speeds, and makes videos look better tenfold. My next purchase will most likely be an ND (Neutral Density) filter, which blocks light allowing for slower shutter speeds in daytime lighting. New lenses also allow for better composition based on what you what to shoot.
Art is Everywhere
After getting my camera, I started to think about how I would compose shots all around me whether I was on my way to work or out on the trail. Don’t be afraid to try new things, sure some shots won’t come out perfect, but your best shot could always be your next!

We want to acknowledge and thank the past, present, and future generations of all Native Nations and Indigenous Peoples whose ancestral lands we travel, explore, and play on. Always practice Leave No Trace ethics on your adventures and follow local regulations. Please explore responsibly!
Do you love the outdoors?
Yep, us too. That's why we send you the best local adventures, stories, and expert advice, right to your inbox.


